How to Add and Delete Rows Dynamically using jQuery
Websolutionstuff | Jan-02-2021 | Categories : Laravel PHP jQuery HTML
In this article, we will see how to add and delete rows dynamically using jquery. Also, we will see without the page refreshing add rows and delete or remove rows. Using the .append() and .remove() methods we can dynamic add and delete rows using jquery. Also, you can delete all rows at a time using the multiple checkbox options.
The append() method is used to append or add rows inside an HTML table and the .remove() method is to remove or delete table rows as well as all data inside it from the DOM dynamically with jquery.
So, let's see dynamically add/remove rows in an HTML table using javascript and jquery add and delete rows dynamically.
Example:
<!DOCTYPE html>
<html lang="en">
<head>
<meta charset="utf-8">
<title>How to Add and Delete Rows Dynamically Using jQuery - websolutionstuff.com</title>
<style>
    form{
        margin: 20px;
    }
    form input, button{
        padding: 5px;
    }
    table{
        width: 90%;
        margin: 20px;
		border-collapse: collapse;
    }
    table, th, td{
        border: 1px solid #cdcdcd;
    }
    table th, table td{
        padding: 10px;
        text-align: left;
    }
  	.delete-row, h2{
      margin:20px;
  	}
</style>

</head>
<body style="border:1px solid grey">
  	<h2>How to Add and Delete Rows Dynamically Using jQuery - websolutionstuff.com</h2>
    <form>
        <input type="text" id="name" placeholder="Name">
        <input type="text" id="email" placeholder="Email Address">
    	<input type="button" class="add-row" value="Add Row">
    </form>
    <table>
        <thead>
            <tr>
                <th>Select</th>
                <th>Name</th>
                <th>Email</th>
            </tr>
        </thead>
        <tbody>
            <tr>
                <td><input type="checkbox" name="record"></td>
                <td>dell</td>
                <td>[email protected]</td>
            </tr>
            <tr>
                <td><input type="checkbox" name="record"></td>
                <td>james</td>
                <td>[email protected]</td>
            </tr>
        </tbody>
    </table>
    <button type="button" class="delete-row">Delete Row</button>
</body>
</html>
<script src="https://code.jquery.com/jquery-3.5.1.min.js"></script>
<script>
    $(document).ready(function(){
        $(".add-row").click(function(){
            var name = $("#name").val();
            var email = $("#email").val();
            var markup = "<tr><td><input type='checkbox' name='record'></td><td>" + name + "</td><td>" + email + "</td></tr>";
            $("table tbody").append(markup);
        });

        // Find and remove selected table rows
        $(".delete-row").click(function(){
            $("table tbody").find('input[name="record"]').each(function(){
            	if($(this).is(":checked")){
                    $(this).parents("tr").remove();
                }
            });
        });
    });
</script>
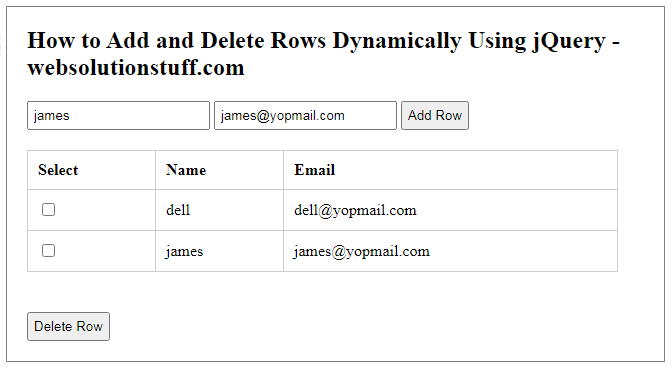
Output:
You might also like:
Recommended Post
Featured Post

How to Set Auto Database BackU...
In this article, we will see how to set auto database backup using the cron scheduler in laravel. here we will set ...
Feb-18-2021

How to Integrate Cashfree Paym...
Hello developers! Today, we're about to embark on a journey to elevate our Laravel applications by integrating...
Feb-12-2024

How To Get Client IP Address I...
In this article, we will see how to get a client's IP address in laravel 10. Here we will learn about retrieving the...
Apr-07-2023

How to Deploy Laravel on Herok...
In this article, we will see how to deploy laravel on heroku with database. Heroku is a cloud platform as...
Feb-12-2021