How To Image Upload In CKeditor With Laravel 10
Websolutionstuff | May-08-2023 | Categories : Laravel PHP
In this article, we will see how to image upload in CKEditor with laravel 10. Here, we will learn about image upload in CKEditor with laravel 10. CKEditor is a WYSIWYG rich text editor which enables writing content directly inside of web pages or online applications.
Its core code is written in JavaScript and it is developed by CKSource. CKEditor is available under open-source and commercial licenses. CKEditor is a modern, feature-rich JavaScript text editor with a clean UI and perfect UX. Easily customizable to any use case.
So, laravel 10 CKEditor image upload, how to add an image in CKEditor, upload image in CKEditor with laravel 10, and laravel 10 CKEditor 5 image upload.
Inserting images into content created with CKEditor 5 is a very common task. In a properly configured rich-text editor, there are several ways for the end user to insert images:
- Pasting an image from the clipboard
- Dragging a file from the file system
- Selecting an image through a file system dialog
- Selecting an image from a media management tool in your application
- Pasting a URL to an image, either into the editor dialog or directly into the content.
In this article, we will install laravel 10 using the following command.
composer create-project laravel/laravel laravel_10_ckeditor_example
The, we will create routes to the web.php file.
routes/web.php
<?php

use Illuminate\Support\Facades\Route;

use App\Http\Controllers\CkeditorController;

/*
|--------------------------------------------------------------------------
| Web Routes
|--------------------------------------------------------------------------
|
| Here is where you can register web routes for your application. These
| routes are loaded by the RouteServiceProvider within a group which
| contains the "web" middleware group. Now create something great!
|
*/

Route::get('ckeditor', [CkeditorController::class, 'index']);
Route::post('ckeditor/upload', [CkeditorController::class, 'upload'])->name('ckeditor.upload');
Now, we will create a CkeditorController.php file using the following command.
php artisan make:controller CkeditorController
app/Http/Controllers/CkeditorController.php
<?php

namespace App\Http\Controllers;

use Illuminate\Http\Request;
use Illuminate\View\View;
use Illuminate\Http\JsonResponse;

class CkeditorController extends Controller
{
    /**
     * Write code on Method
     *
     * @return response()
     */
    public function index(): View
    {
        return view('ckeditor');
    }

    /**
     * Write code on Method
     *
     * @return response()
     */
    public function upload(Request $request): JsonResponse
    {
        if ($request->hasFile('upload')) {
            $originName = $request->file('upload')->getClientOriginalName();
            $fileName = pathinfo($originName, PATHINFO_FILENAME);
            $extension = $request->file('upload')->getClientOriginalExtension();
            $fileName = $fileName . '_' . time() . '.' . $extension;

            $request->file('upload')->move(public_path('images'), $fileName);

            $url = asset('media/' . $fileName);

            return response()->json(['fileName' => $fileName, 'uploaded'=> 1, 'url' => $url]);
        }
    }
}
Note: Make sure you have created an images folder in your public directory because images will store in that folder.
In this step, we will create a ckeditor.blade.php file. So, add the following code to that file.
resources/views/ckeditor.blade.php
<!DOCTYPE html>
<html>
<head>
    <title>How To Image Upload In CKeditor With Laravel 10 - Websolutionstufff</title>
    <link href="https://cdn.jsdelivr.net/npm/[email protected]/dist/css/bootstrap.min.css" rel="stylesheet">
    <style>
        .ck-editor__editable_inline {
            min-height: 300px;
        }
    </style>
</head>
<body>

<div class="container">
    <h1>How To Image Upload In CKeditor With Laravel 10 - Websolutionstuff</h1>
    <form>
        <div class="form-group">
            <strong>Title:</strong>
            <input type="text" name="title" class="form-control" placeholder="Title" value="{{ old('title') }}">
        </div><br>
        <div class="form-group">
            <strong>Description:</strong>
            <textarea name="editor" id="editor"></textarea>
        </div>
        <div class="form-group">
            <button class="btn btn-success" type="submit">Submit</button>
        </div>
    </form>
</div>
<script src="https://cdn.ckeditor.com/ckeditor5/37.1.0/classic/ckeditor.js"></script>
<script>
    ClassicEditor.create( document.querySelector( '#editor' ),{
        ckfinder: {
            uploadUrl: '{{route('ckeditor.upload').'?_token='.csrf_token()}}',
        }
    })
    .catch( error => {

    });
</script>

</body>
</html>
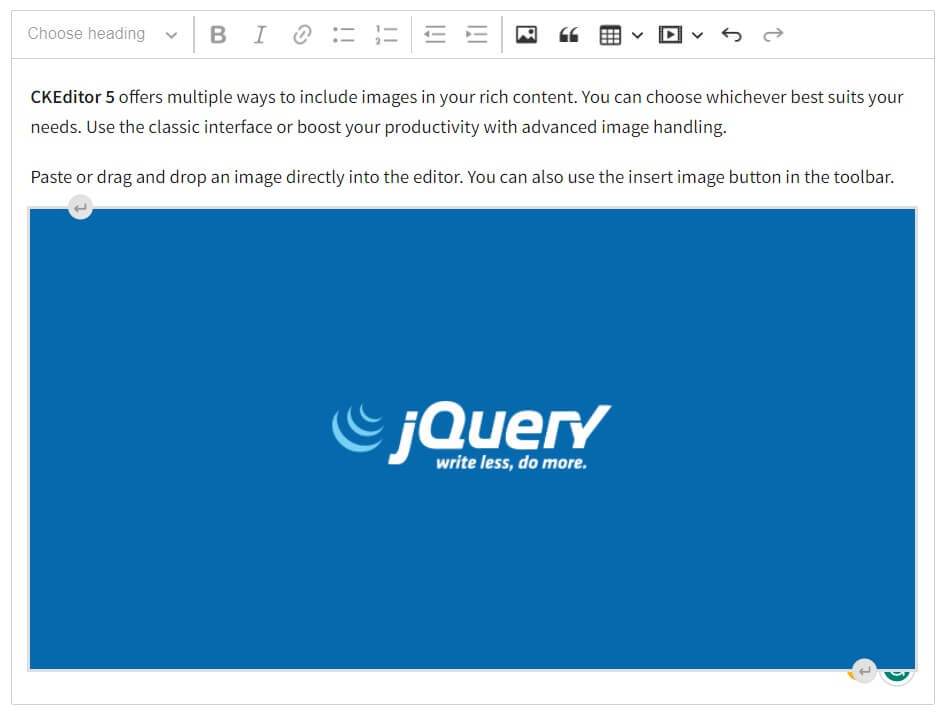
Output:
You might also like:
- Read Also: How To Add Foreign Key In Laravel 10 Migration
- Read Also: Laravel 9 Image Upload In Summernote Editor
- Read Also: How To Hide Toolbar In Summernote Editor
- Read Also: How To Install TinyMCE Editor In Laravel
Recommended Post
Featured Post

Laravel 9 whereColumn Query Ex...
In this article, we will see laravel 9 whereColumn() query example. The whereCoulmn method is used to verify whethe...
Oct-21-2022

Laravel whereDate and whereDay...
In this article, we will see laravel whereDate and whereDay examples. As you all know laravel provides many in...
Jan-21-2021

How to Send E-mail Using Queue...
Today I will show you how to send e-mail using queue in laravel 7/8, many times we can see some processes take...
Oct-30-2020

How To Create Dynamic Pie Char...
In this article, we will see how to create a dynamic pie chart in laravel. charts are used to represent data i...
Jun-24-2020